Showing posts with label accessories. Show all posts

Thursday, 23 August 2012

Just for fun

I absolutely love earrings, although my ears are too sensitive for me to really wear them. I have, however, been having fun making earrings. But man oh man do I need to get to some craft fairs cause holy moley I have a lot of stuff piling up!

Glass beads.
Shells and crystals.
Rose quartz and glass beads.
Wire wrapped glass beads.
Glass beads.
Chain and glass beads. 
Asymmetrical shells and crystals.
The round glass beads that are wrapped in wire are my favourites. I'm tempted to keep them for myself even though I know I'd never wear them.. I'm working on getting these up in the shop if you're interested.

Tuesday, 26 June 2012

Tutorial: Geometric Necklace


You can make your own geometric shaped necklace in ~10 minutes with 4 things that you probably already have.

Materials:
A chain
Strong glue
Sandpaper
And... Staples?!

How to:


-Get your staples. I like the colourful kinds myself and thought the 3 colours went nicely together. Break the staple sticks (for lack of a better word) into the lengths that you want.

-Sand the corners where it will touch your skin.. Don't want you getting scratched! I found a fine grain sandpaper and just a couple swipes worked fine.


-Glue the pieces together by putting glue on the shorter piece and pushing them together. I also put some glue across the whole back part to keep them together a bit better. I think a popcicle stick would fit there really good to make it super sturdy but alas.. I had no popcicles. Make sure you don't put so much glue so that it pushes out to the front area.


-Add glue along the edge and press the chain into it. Let dry and you're set!


There are so many possibilities! I'd love to see your versions if you try this.

Tuesday, 5 June 2012

More Brains!

So I finally got some proper pictures of these, and got them put up in the shop. You can find them here.


Monday, 6 February 2012

Ice Sculptures & New Purse Pattern

We went down to see the ice sculptures in down town Ottawa today. They were pretty impressive and I tried to only take a few pictures of the best things to share with you :P.

Colored wolf sculptures inspired by thermal imagery. By far my favourite thing I saw that day.


OCTOPUS!


Also, Craft 6 or 50 down! I made myself a new purse. And I love love love the pattern so much that I'm going to make a few more for my store. (The base pattern that is, they'll all be decorated differently). I first was going to use another fabric for the ruffles but I couldn't be bothered cutting and hemming and all that, and I already had a huge strip of fabric already cut and hemmed that I saved for like, a year to use as ruffles on something, so I went with that instead. It was my first time making them and I think they turned out pretty good. I didn't have enough fabric to cover the whole front though so that's why only half is done, hahah. I like how it looks though!


Its also fully lined and has 3 pockets, one for girly stuff (hand lotion, spare eyeliner, etc), one thats currently holding business cards, and one that was meant for my camera but it seems I've put an ipod and a little notebook in there to keep the clutter down on the inside of my purse.


Lastly, I've been holding onto this little thing for months. Its some kind of bike part that the Mr didn't need that figured I'd want to keep. He was right. Its cool looking, has a good weight, and is quite shiny. Only problem is trying to decide what to do with it. Any ideas? Ideas I've had include: a locket, filling the centre with epoxy, macramé..

It's all chrome-y and shiny, and 3" wide. What to use it for...

Thursday, 5 January 2012

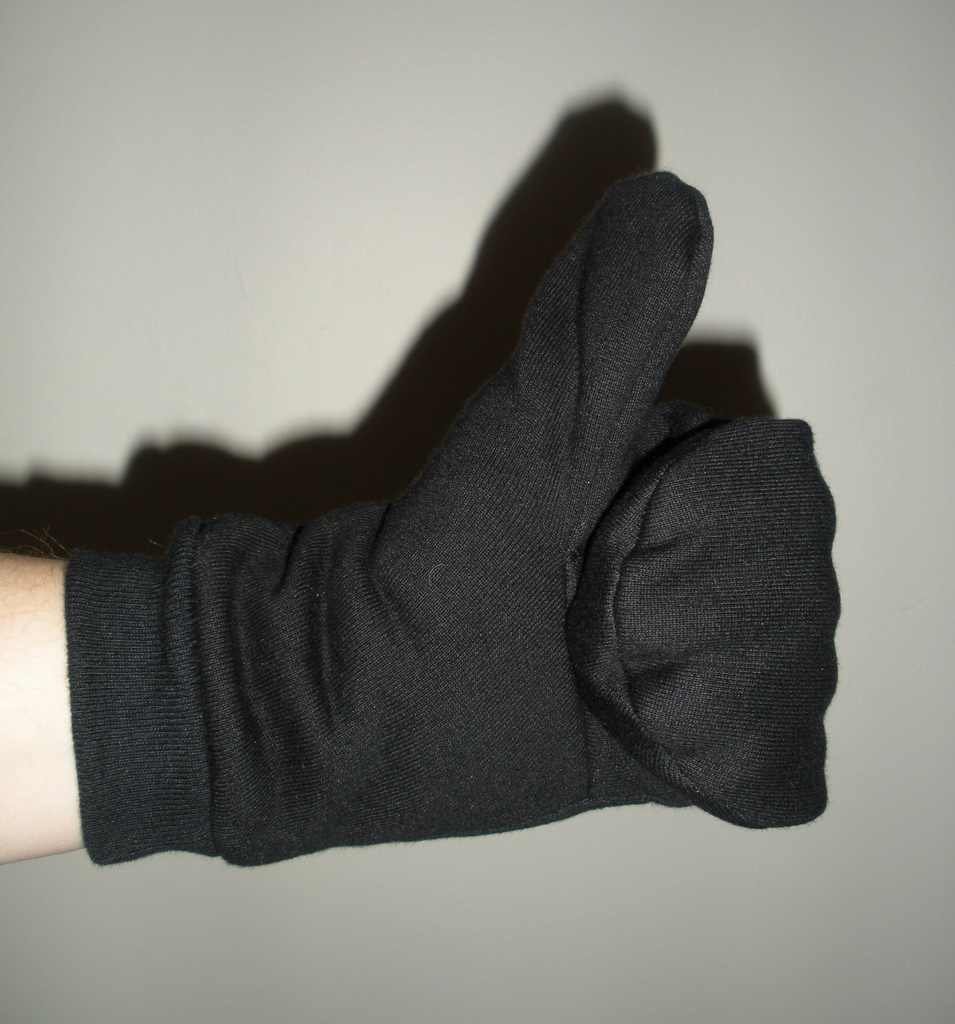
Tutorial: Quick and Easy Mittens

50 crafts of 2012 project. 49 remaining.


My boyfriend has been needing mittens forever, and I finally got a day off to make him some. Now I've seen quite a few mitten tutorials online, but most include two pieces cut out with the thumb jutting out at the side. I don't find this the most comfortable or logical, so I ended up making this pattern. Now I'll show you how to make the pattern to fit you, and how to sew it together.

First, to make the pattern:

Lay your hand down, fingers together, on a piece of paper. Trace a general shape around, making sure to add about a cm on each side of your hand to allow for your hand to fit through.


Draw a line across right where your thumb attaches.

Draw a second loop on the side for your thumb. Make that as long as your thumb plus a little bit, and as wide as, plus a little bit.

Make two of these, and cut them to look like these pieces. Cut 2 pieces of fabric for each, one from one side and one reversed. (The piece on the left is to be paired up with the piece on the right, not to be cut alone.)


Now you're ready to make your mittens!!!

Lay two pieces right sides together and sew above the thumb line, sew them together.


Now, take your third piece of fabric and put that between the other two. The next area you want to fold is the thumb and the thumb line, so make sure you have the right sides together.


When that is done, flip up the thumb area and sew the rest of the mitten, the wrist part.


Trim all the edges down, making sure to cut as much excess off the corner of the thumb and the top as you can, those parts won't lay right if there's too much extra fabric.


At this point you can hem the bottom and be done with it, but for his mittens I wanted to add a sweater like cuff to the end to keep them super snug on his arms. I took some ribbed knit fabric and measured it around his wrist. The piece shown here was cut in half to make both sides. Sew up that line.


Fold the sewn piece over, this way you don't see any seam on any part of the mittens. It makes everything look a lot smoother.


Insert that piece into the mitten and sew it on using a zigzag stitch or any stitch/sewing method you have for sewing stretchy pieces. you may have to stretch the cuff to fit properly inside the mitten when sewing because that piece of fabric will be more narrow.


Your new mittens are ready to go! Stay snug!

Saturday, 17 December 2011

Painted Heels

Warning!: These turn a normal pair of heels into an extremely sexy 100% original pair of heels that makes people force you to stand on one foot so you can show them the other, and they look like shoes online that people sell for hundreds but will only cost you a fraction of the price! I already had the heels, paid $5ish for a pack of walmart brushes and $1.50 for each jar of paint.


This is really easy to do and you don't need expensive paints to make it look good. They didn't even take long to do! Tutorial is found here and is straight forward and simple. And trust me, if I can paint something that looks this good, anyone can. I have no painting ability besides nails, my mom is an amazing painter and she kept all those genes for herself.

Notes and Tips:

  • I forgot to buy yellow paint and ended up using a sharpie. This bled when I added the sealer (boo).
  • I can't paint fine lines so I used a black sharpie to do the outlines. This did not bleed.
  • Using the underpart of the heel is great because 1- its subtly hidden and 2- it does not bend so you don't have to worry about your walking around flaking off the paint. Someday I would like to try painting the other parts of heels but for now I plan to just paint the underneath. I also plan on doing this to every pair of heels I own, no joke (once I find a good sealer. I'm not careful/brave enough to go out without these sealed!)
  • Over time, the sealer yellowed the paints and seemed to melt back down. Now the shoes are sticky and it sucks. That's my own fault for being too cheap to get another kind and using the one I have for everything and going 'eh, it'll work..'. Seriously, look into it. Read on the cans what each one thing specializes in, and what materials you can put it on. It'll save you in the end.

Tuesday, 13 December 2011

Tutorial: Knotted Purse (No sew!)


This is a really quick tutorial that I think is pretty neat. You can make your own purse with 100% no sewing! All you need is a square scarf. (Or with a little bit of sewing, a square of any non stretchy fabric at hand hemmed around the edges.)


If it has it, find the outside and fold it into a triangle right sides together.


Almost halfway up the side, tie a simple knot. Do the same for the other side.


Turn it inside out and shake it a little, that'll help the fabric settle down and get its shape.


Tie a knot in the top points for a handle and you are good to go!

Now as long as you have a scarf (any size, the smaller the scarf the smaller the purse) that matches your outfit, you have a purse to match!

Wednesday, 9 November 2011

Vintage Button Hair Pins


These are the pins I mentioned in a previous post that I made for the craft show coming up; I really love how they came out. They're all different, made with assorted buttons from the collection I took from home when I moved out.

They'll be $1.50 each, or 4 for $5, so if you're interested come out to the craft show on the 26th and pick a couple up!