

My boyfriend has been needing mittens forever, and I finally got a day off to make him some. Now I've seen quite a few mitten tutorials online, but most include two pieces cut out with the thumb jutting out at the side. I don't find this the most comfortable or logical, so I ended up making this pattern. Now I'll show you how to make the pattern to fit you, and how to sew it together.
First, to make the pattern:
Lay your hand down, fingers together, on a piece of paper. Trace a general shape around, making sure to add about a cm on each side of your hand to allow for your hand to fit through.

Draw a line across right where your thumb attaches.


Now you're ready to make your mittens!!!
Lay two pieces right sides together and sew above the thumb line, sew them together.

Now, take your third piece of fabric and put that between the other two. The next area you want to fold is the thumb and the thumb line, so make sure you have the right sides together.

When that is done, flip up the thumb area and sew the rest of the mitten, the wrist part.

Trim all the edges down, making sure to cut as much excess off the corner of the thumb and the top as you can, those parts won't lay right if there's too much extra fabric.

At this point you can hem the bottom and be done with it, but for his mittens I wanted to add a sweater like cuff to the end to keep them super snug on his arms. I took some ribbed knit fabric and measured it around his wrist. The piece shown here was cut in half to make both sides. Sew up that line.

Fold the sewn piece over, this way you don't see any seam on any part of the mittens. It makes everything look a lot smoother.

Insert that piece into the mitten and sew it on using a zigzag stitch or any stitch/sewing method you have for sewing stretchy pieces. you may have to stretch the cuff to fit properly inside the mitten when sewing because that piece of fabric will be more narrow.
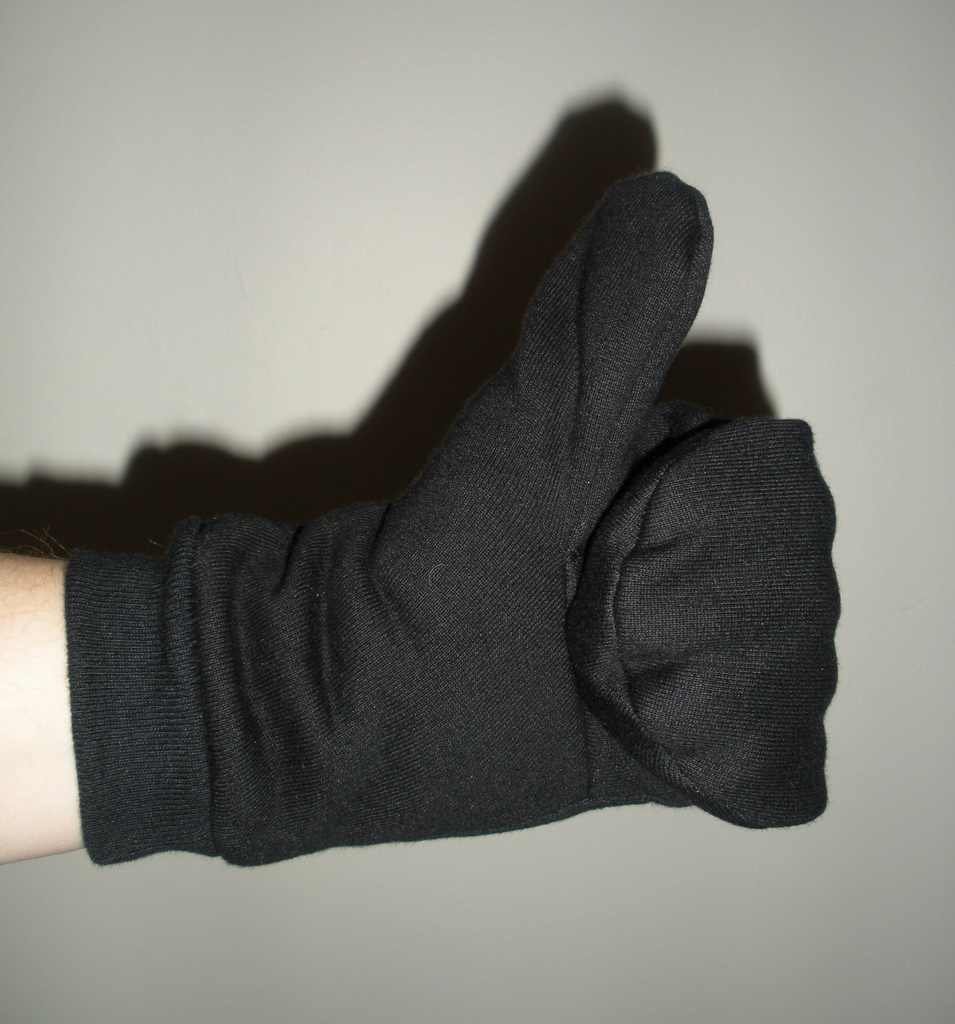
Your new mittens are ready to go! Stay snug!

No comments:
Post a Comment